How to Properly Install a Built-in Undercabinet Hood? A Step-by-Step Guide
Undercabinet kitchen hoods are extremely popular – they’re compact, stylish, and perfect for modern interiors. Installed inside the cabinet above the cooktop, they’re nearly invisible, yet play a crucial role: they effectively remove steam and cooking odors. However, to ensure proper and safe operation, they must be installed in line with technical requirements. In this article, we’ll show you how to install an undercabinet hood – both as an extractor and as a recirculating unit – and how to avoid mistakes that can damage your appliance or kitchen furniture.
What is an Undercabinet Hood?
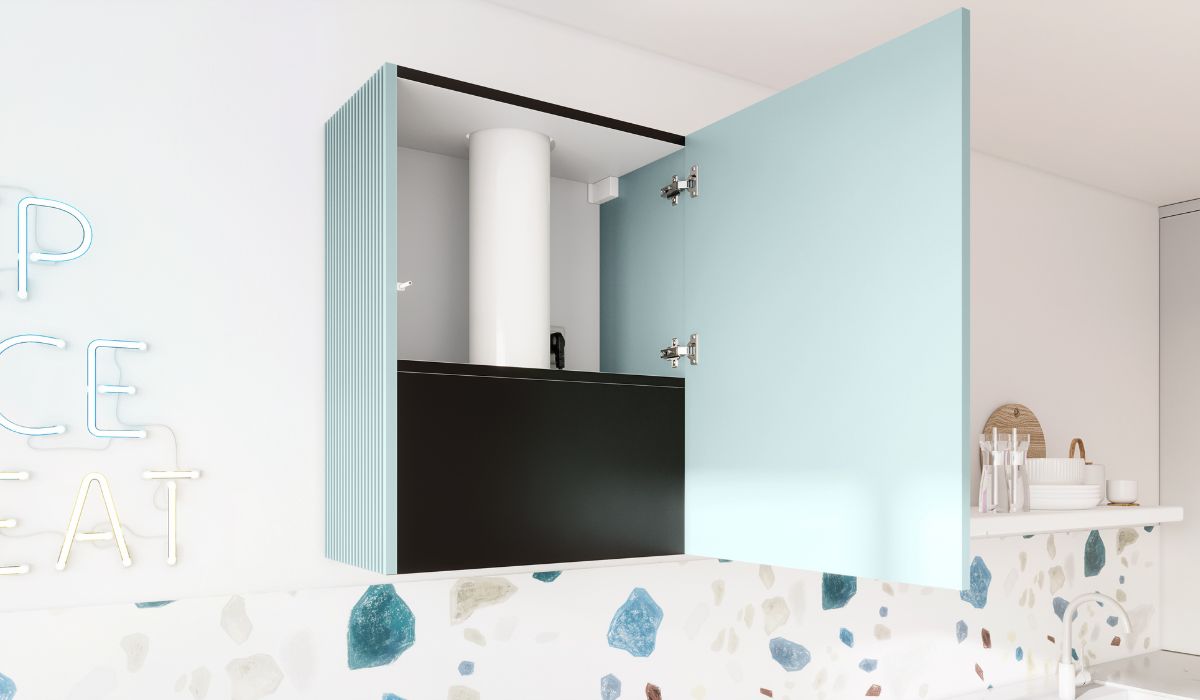
An undercabinet hood is an appliance designed to be installed in a cabinet above the stove. Its job is to eliminate odors, steam, and grease produced during cooking.
Today, the term “undercabinet hood” is often used interchangeably with “built-in hood.” This refers to modern models hidden entirely inside a cabinet – often behind a closed front panel.
In the past, undercabinet hoods were simple devices mounted underneath cabinets, protruding into the kitchen space. While they were easy to install and inexpensive, they had limited performance – low airflow and poor filtration. Today, they are rarely used. Technology has shifted toward more efficient, quieter, and aesthetically integrated built-in hoods.
These hoods can operate in one of two modes:
-
As an extractor – venting air outside through a duct,
-
As a recirculating unit (recirculator) – filtering air through charcoal filters and returning it to the room.
The chosen mode affects how the hood must be installed and how air is routed.
Installing as an Extractor – What You Need to Know
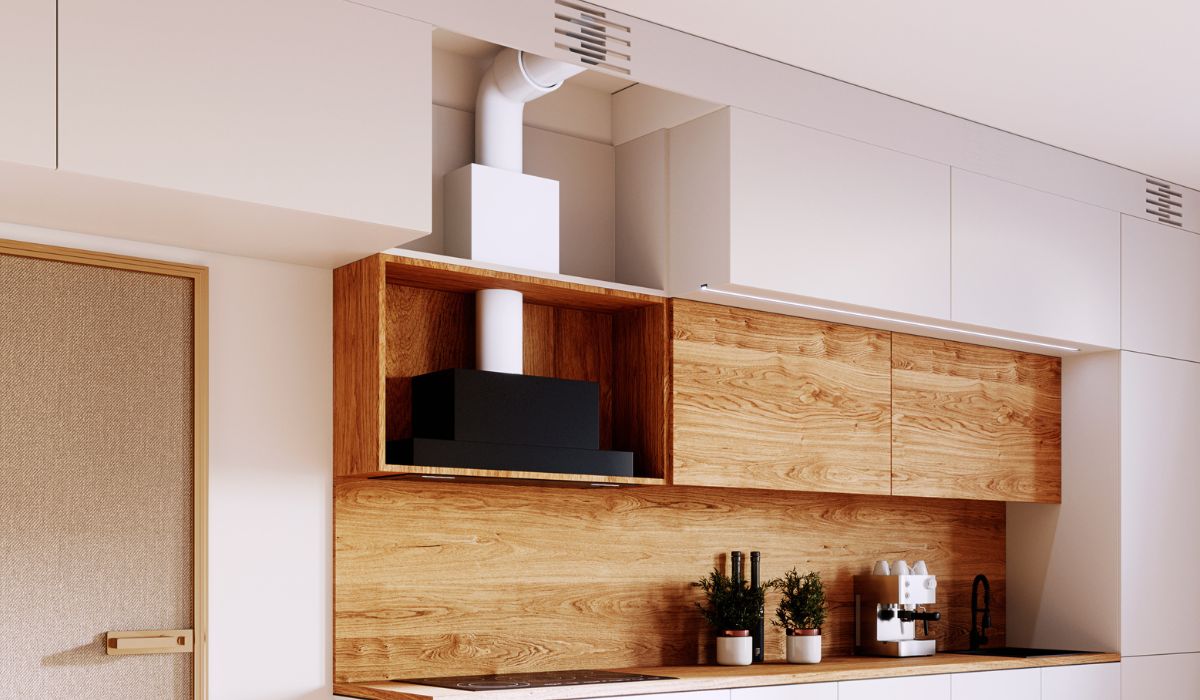
If you’re installing your undercabinet hood as an extractor, it must be connected to a ventilation duct in the wall or ceiling. This is the most effective option but requires properly planned installation.
What Duct Size?
The key rule: The duct diameter must match the outlet on the hood’s motor. Most often:
-
150 mm – the standard size for modern, powerful models.
Avoid reducing the diameter (e.g., to 100 mm), as this can cause:
-
loss of efficiency,
-
increased noise,
-
overheating and overloading of the motor.
What Type of Duct?
Use:
-
smooth PVC or metal ducting,
-
the shortest possible path with minimal bends and elbows.
Step-by-Step Installation in a Cabinet
-
Check the hood’s dimensions – Ensure the width, depth, and height fit your cabinet. Some models may require modifying the cabinet.
-
Determine the mounting height – At least 50 cm above an induction cooktop or 65 cm above a gas stove.
-
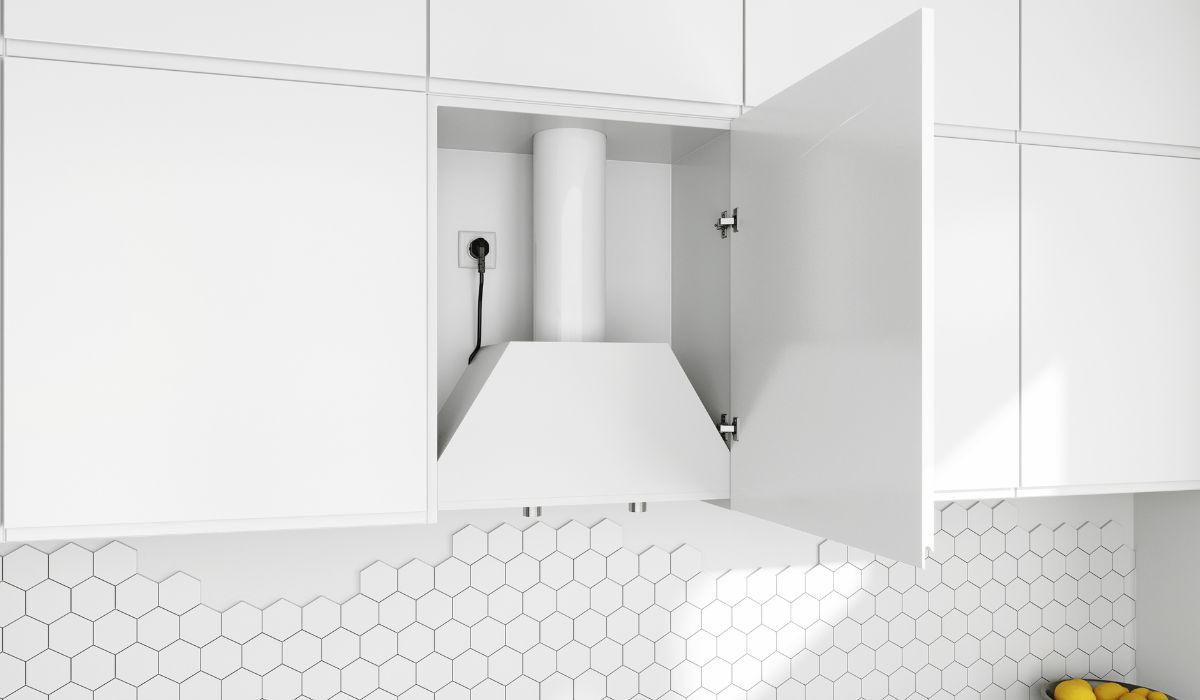
Install the hood body – Fasten it to the cabinet’s sides or base, depending on the model.
-
Connect the ventilation duct – Route it to the wall or ceiling outlet.
-
Install charcoal filters – If the hood will work in recirculating mode.
-
Connect power – Test the unit to ensure it works correctly.
Now your extractor hood is installed and ready to use.
Installing a Recirculating Hood – Ensure Proper Airflow
Many people – including carpenters – wrongly assume that recirculating hoods don’t need any air outlet. This is a common and serious mistake, leading to:
-
moisture buildup inside the cabinet,
-
swelling of cabinet fronts (especially lacquered or veneered),
-
mold growth and unpleasant odors in the cabinetry.
Why Recirculators Also Need Airflow
Even though the air isn’t vented outside, it still needs to exit the hood’s chamber after filtration. Otherwise, pressure builds up, condensation occurs, and heat accumulates around electrical components.
How to Ensure Cabinet Ventilation
If your hood works in recirculation mode, filtered air must exit the cabinet through one of the following:
-
Top of the cabinet – through an opening in the upper panel (if the cabinet doesn’t reach the ceiling),
-
Cabinet front or side – via a ventilation grille or a discreet slot milled into the door panel.
The ventilation opening can also be designed to blend with your cabinetry – the key is functionality.
What to Avoid During Installation
Most common mistakes:
-
No air outlet for recirculators – leads to cabinet moisture.
-
Duct diameter too small – reduces performance and increases noise.
-
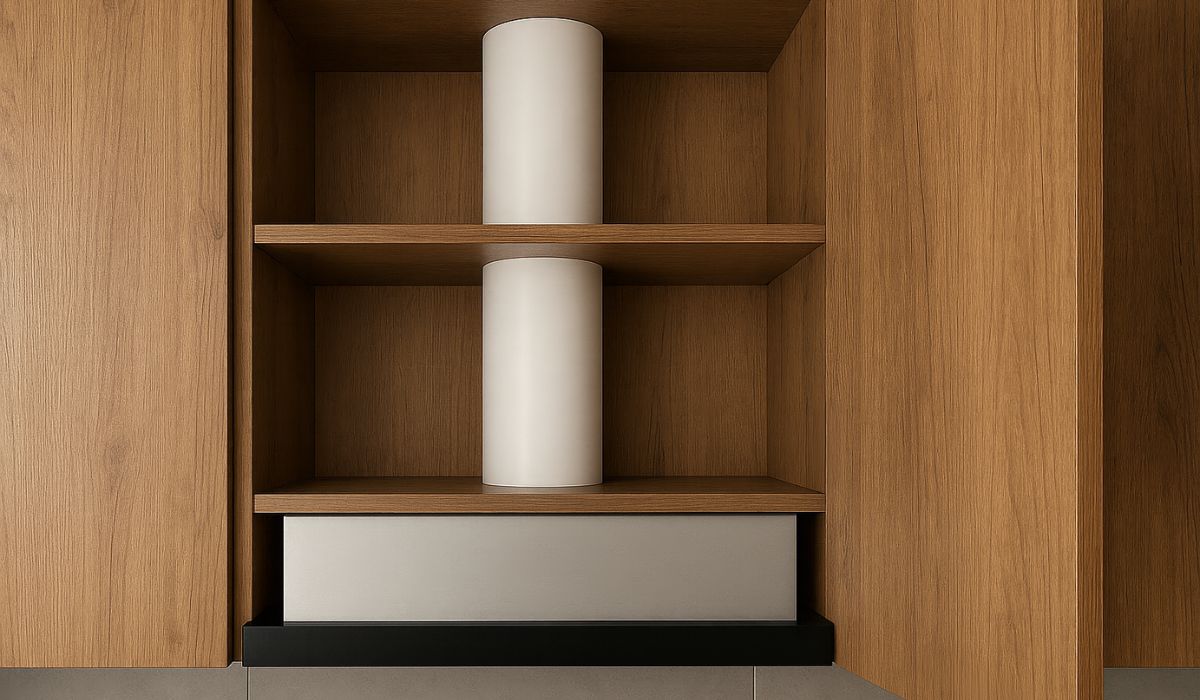
A shelf installed directly above the motor – blocks air circulation.
-
Failing to replace charcoal filters regularly – they should be changed every few months.
-
Hood installed too high – reduces effectiveness.
Proper Installation = Peace of Mind
Whether your built-in hood works as an extractor or a recirculator, proper installation and air routing are essential. This affects not only performance but also protects your kitchen and the hood itself.
Key rules to remember:
-
The duct should be 150 mm in diameter.
-
Even recirculators need an air outlet – top, front, or side of the cabinet.
-
Never block the space above the hood motor.
If you want your hood to run quietly and efficiently for years – plan your installation carefully and avoid shortcuts.
Need help choosing the right model or planning cabinet ventilation? Contact us – we’re happy to help.